Use the principles behind the Victorian printing press to express your creative self, by making your very own potato stamp.
In the 1860s, pictures that were to be printed in newspapers were first carved out of wood or etched into metal, and then placed in a printing press.
The printer (a person, not a machine) would roll some ink on to the carving and place a piece of paper on top. When the printer pulled a lever, the machine would “press” it all together, transferring the picture to the paper — just like a large stamp!
You can carve your own stamp at home today with just a potato, a pencil, and an adult with a sharp knife.
Potato Stamp Tutorial
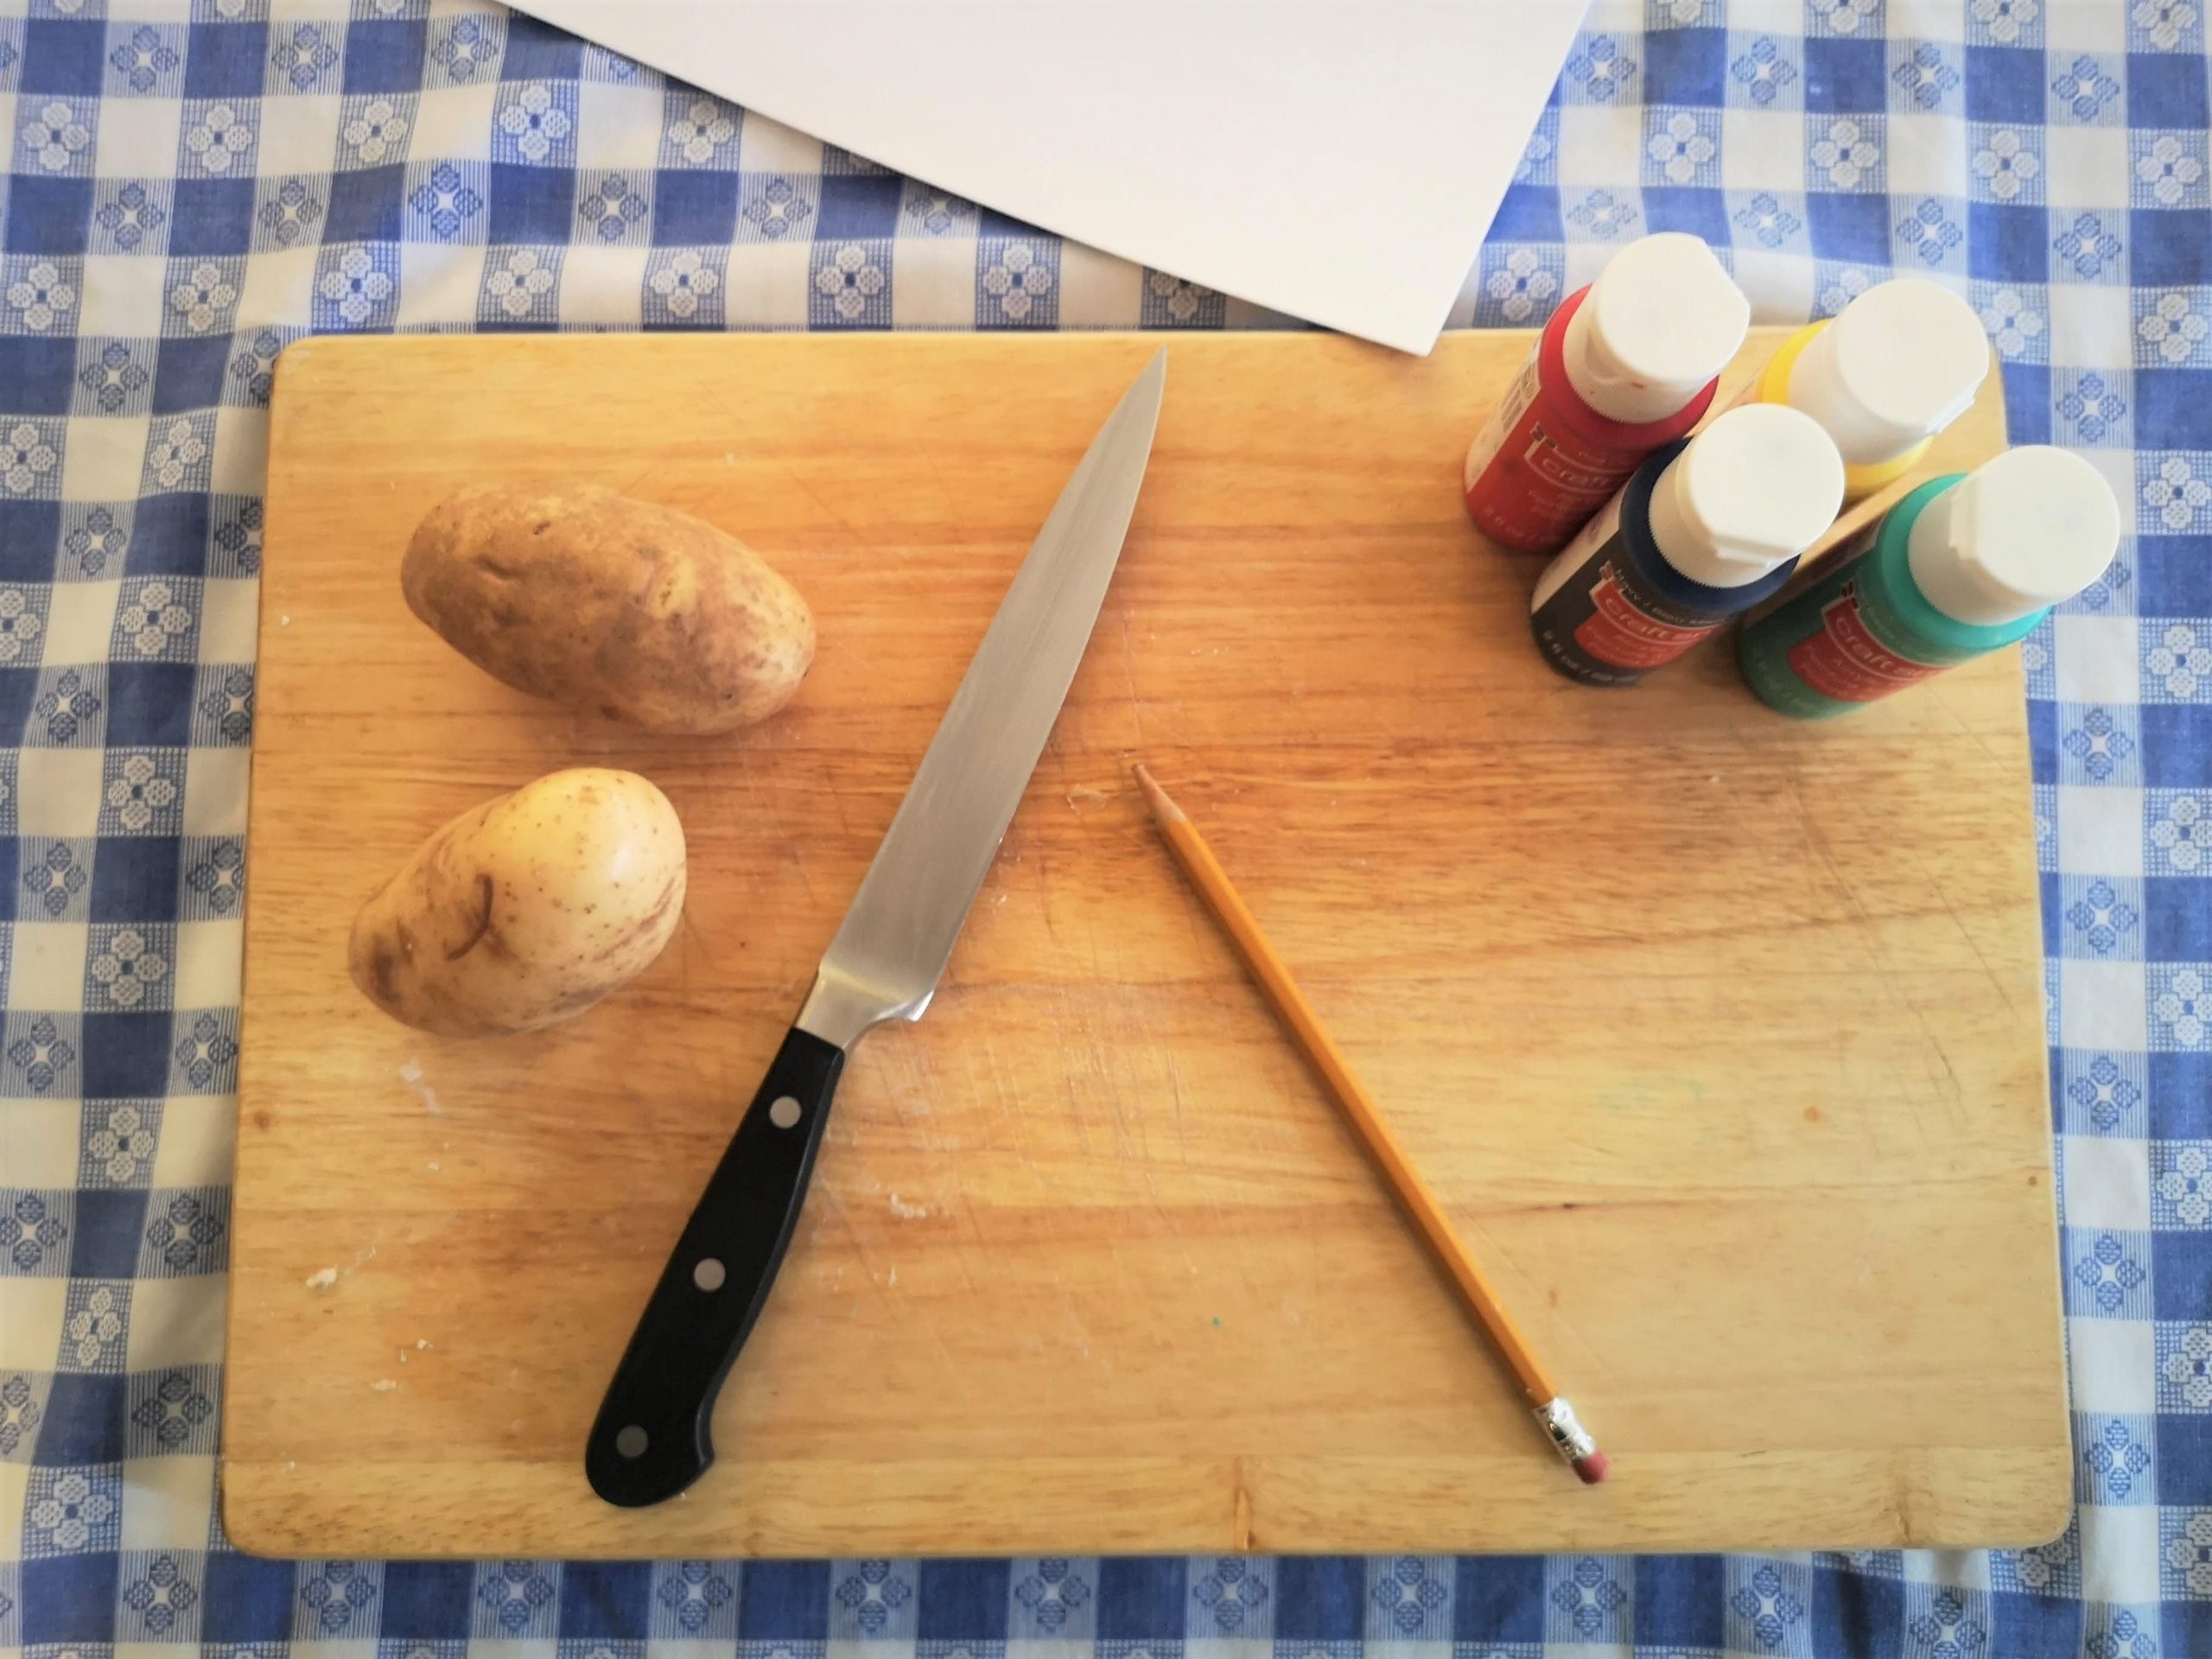
Step 1: Gather your supplies
You will need:
- a potato
- paint (this will be your ink)
- paper
- an adult with a sharp knife
- Some newspaper or an old tablecloth to keep your work area clean
- a carving tool – like a pen, pencil, metal straw or wooden skewer
Step 2: Cut your potato
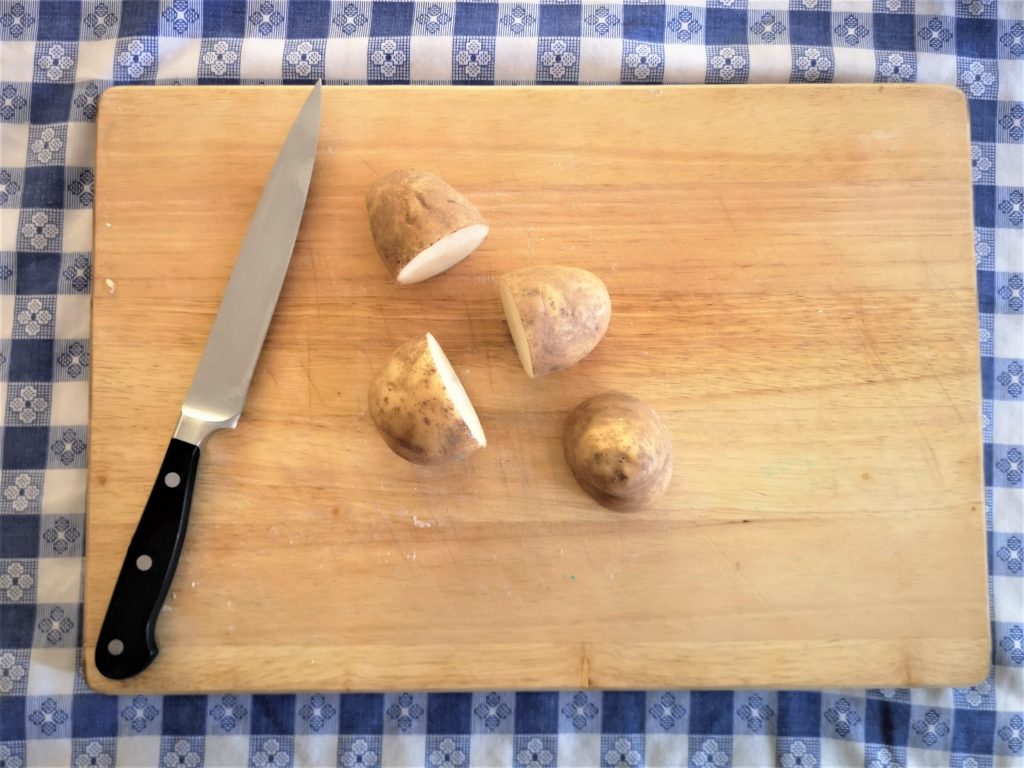
Get your adult to cut your potato in half. Cutting on the short end will give you more of a circle or an oval shape that looks like an egg.
Step 3: Design your stamp
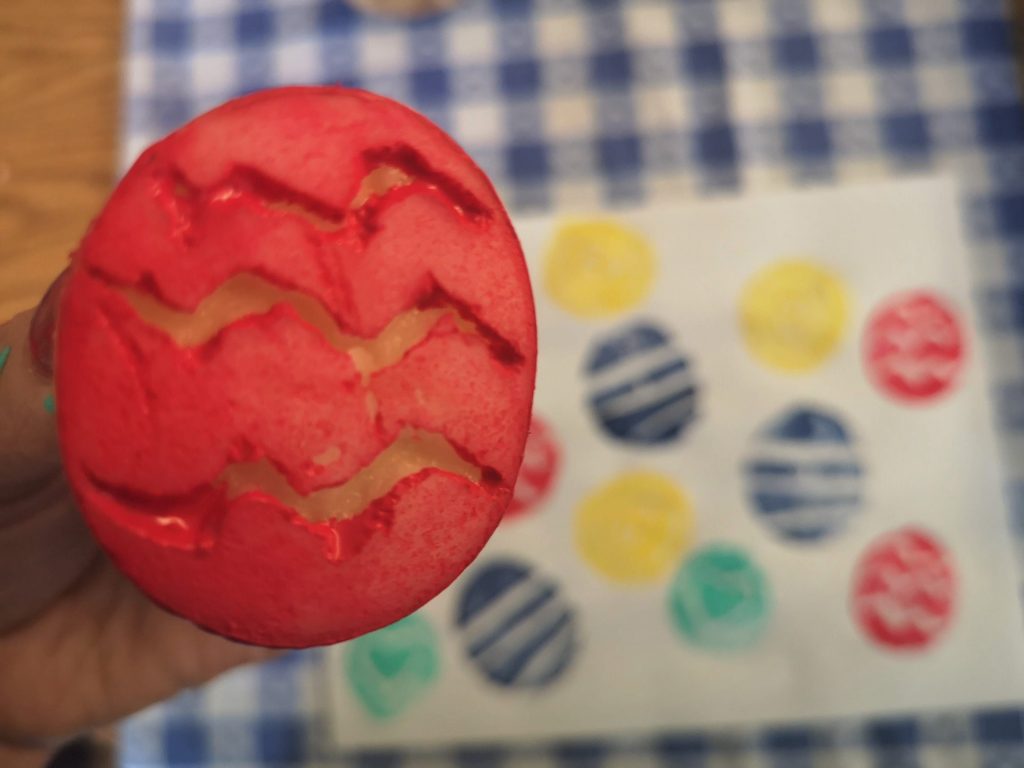
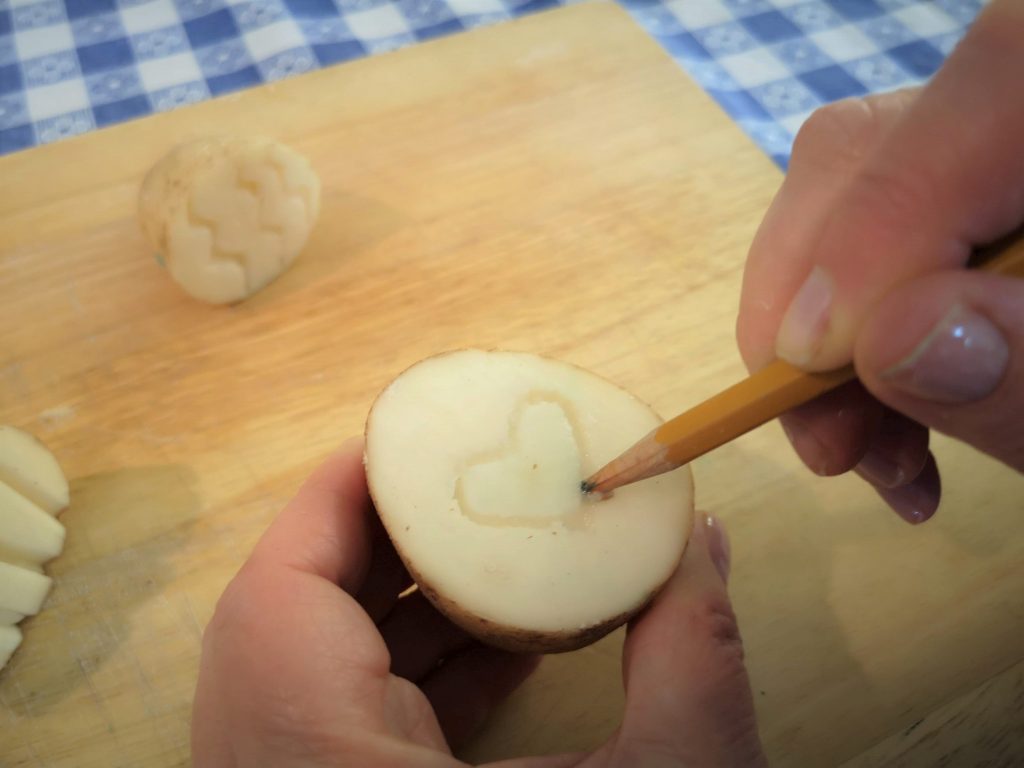
Carve your design into the potato with your carving tool. Go over your design a few times to make sure there is no “gunk” in the grooves.
Step 4: Prep your stamp pad
Pour out a little bit of paint onto a piece of paper or a paper plate. Use a piece of potato to spread out so the pool of paint is larger than your potato. This is your stamp pad.
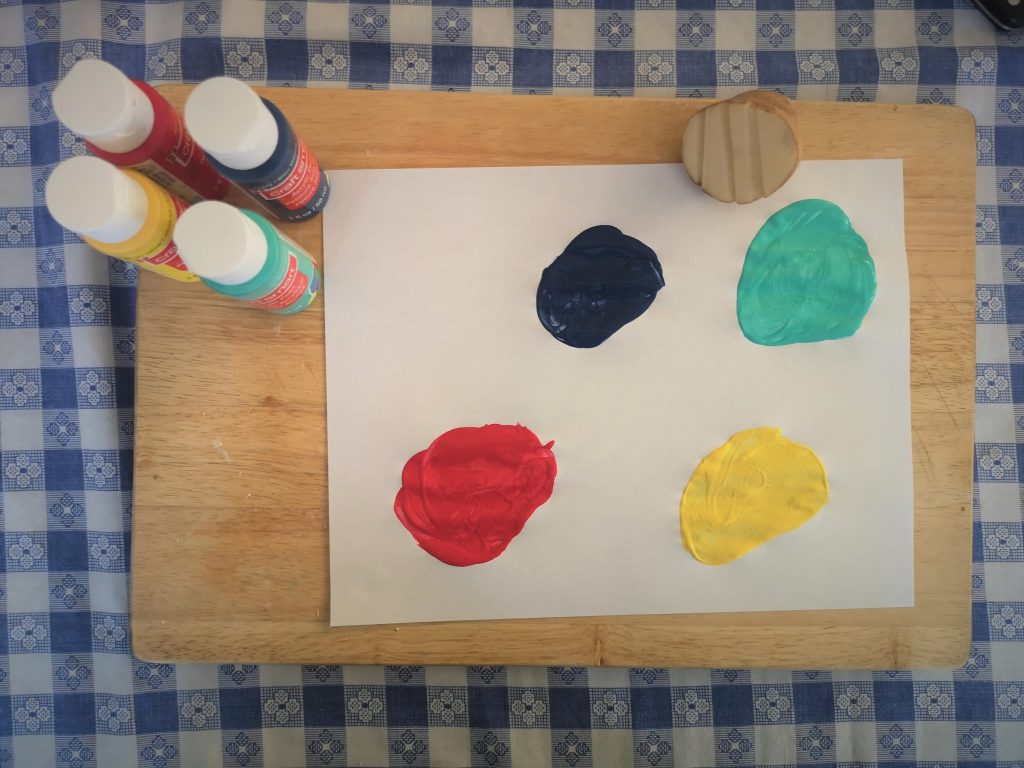
Tip: Make sure there is only a thin layer of paint on your “stamp pad” so it doesn’t get into the grooves!
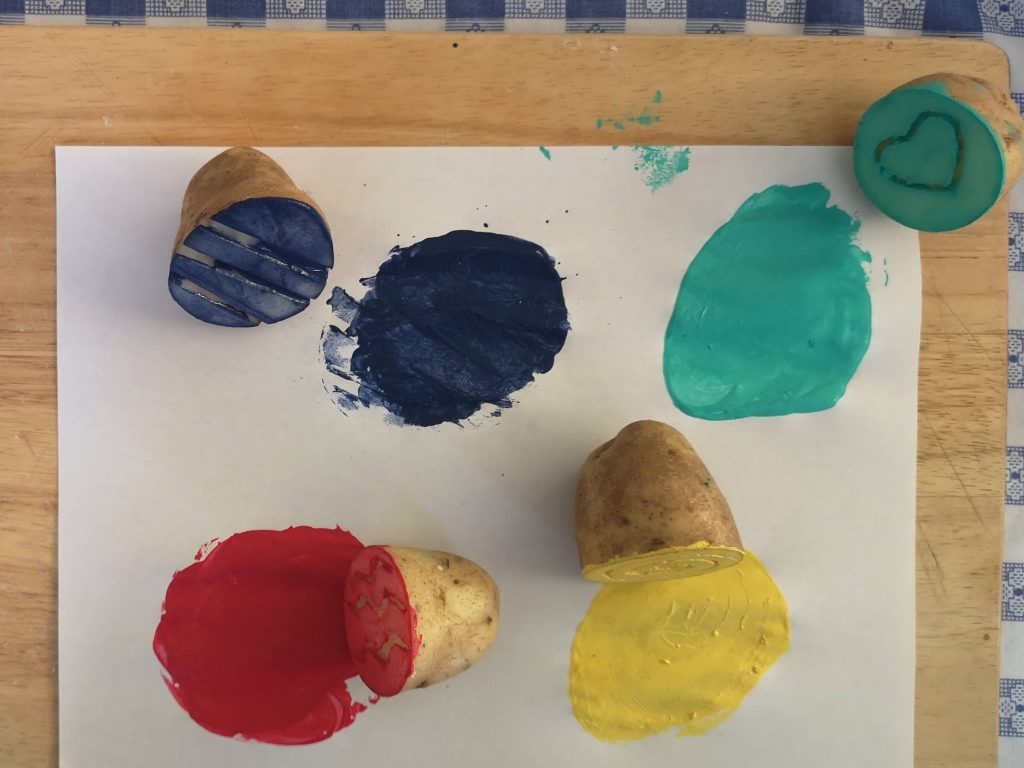
Step 5: Get stamping!
Press your potato into the paint and stamp away!
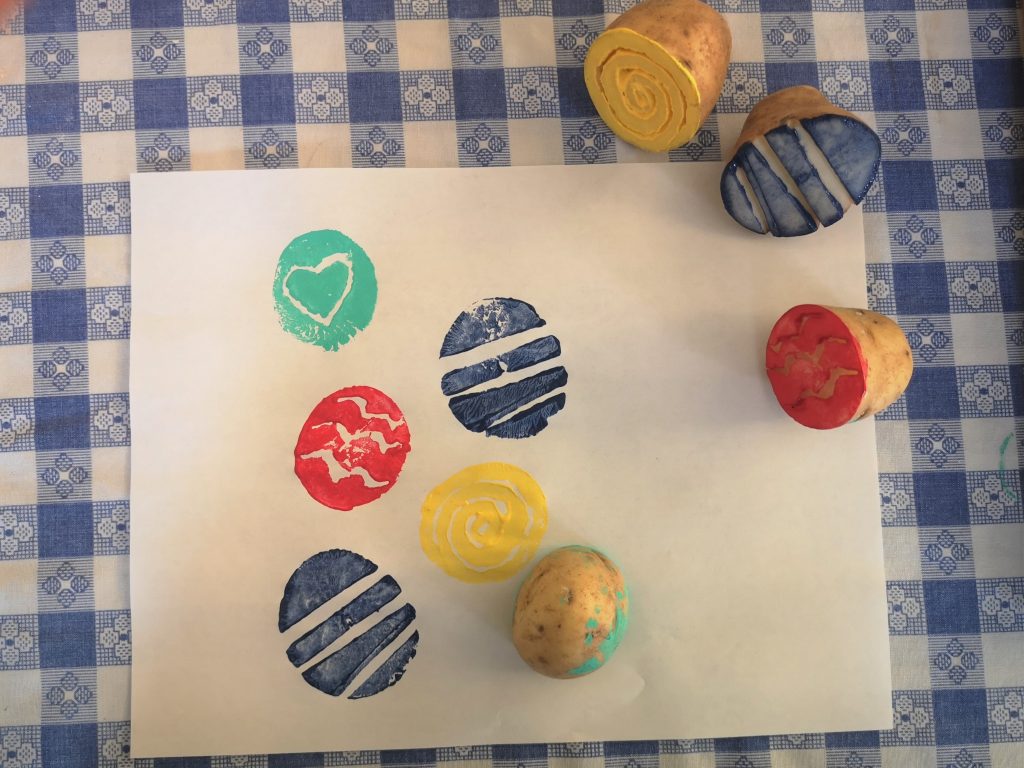
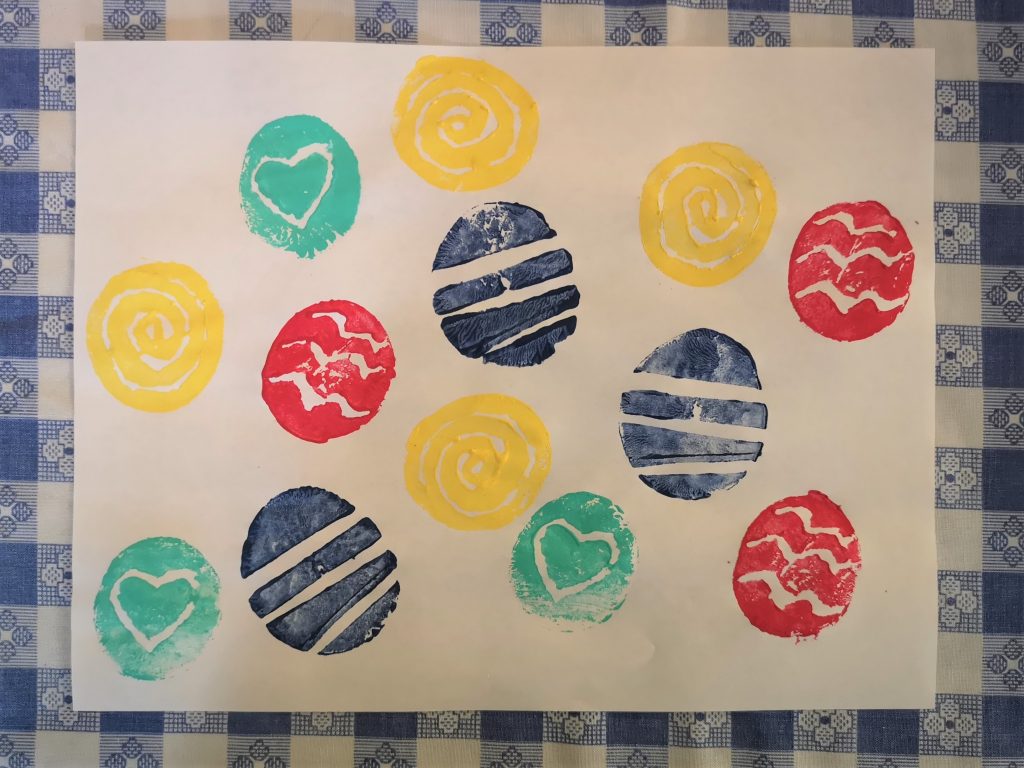
Step 6: Share your masterpiece with us
Share your artwork with us on Facebook and Instagram, or email us a photo at village.info@trca.ca. We can’t wait to see what you made!
 |


