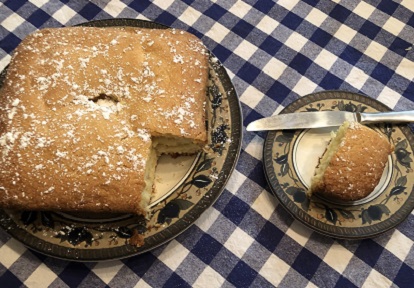
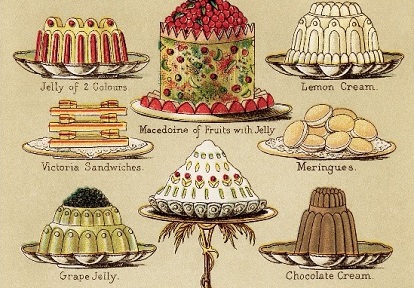
Follow these simple steps for making butter — the Victorian way!
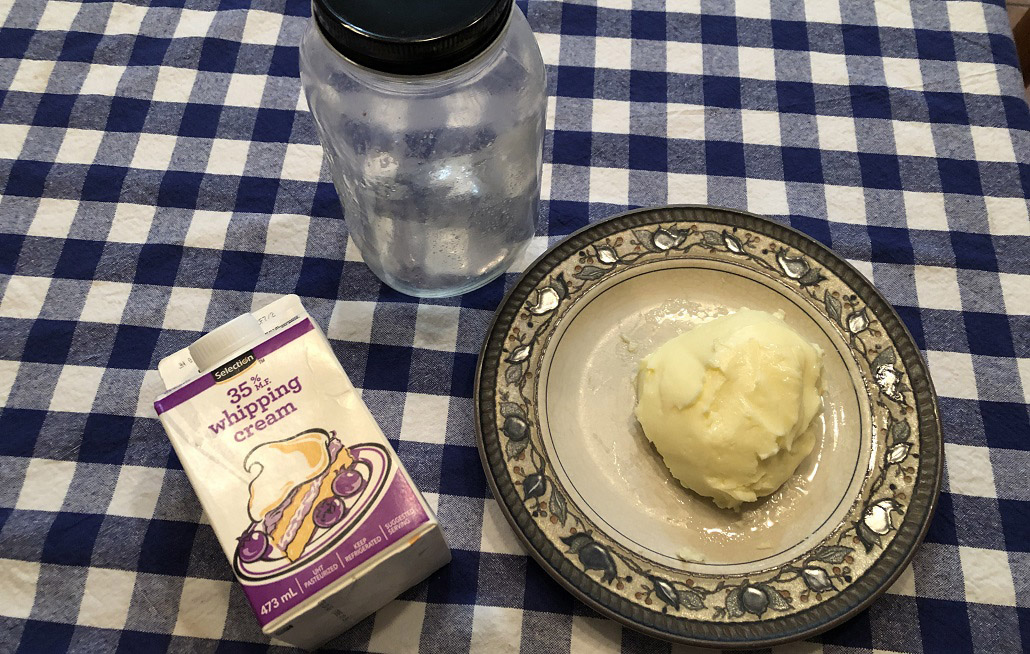
Homemade Butter Tutorial
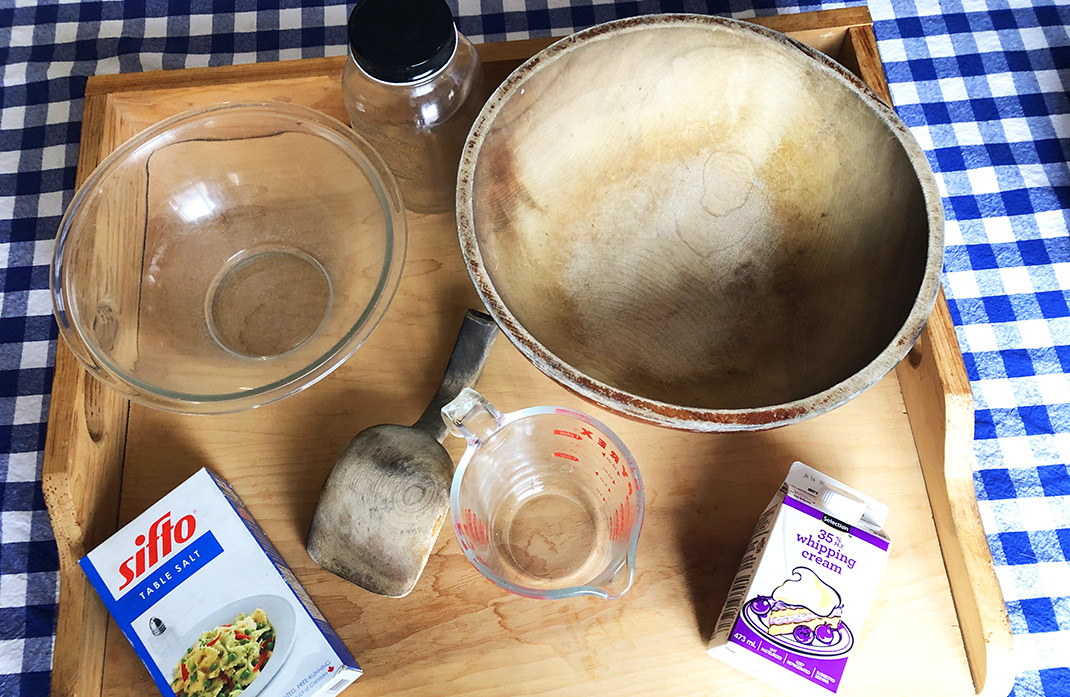
Step 1: Gather your supplies
You will need:
- ½ litre of 35% whipping cream
- a mason jar
- two bowls
- a wooden spoon
- A jug of cold water
- A good pinch or two of salt
Step 2: Shake it up!
Pour 1/2 litre of whipping cream into the mason jar and close the lid tightly. Begin shaking the jar up and down. You will have to do this for about five minutes. If your arm gets sore, enlist family members to take turns helping!
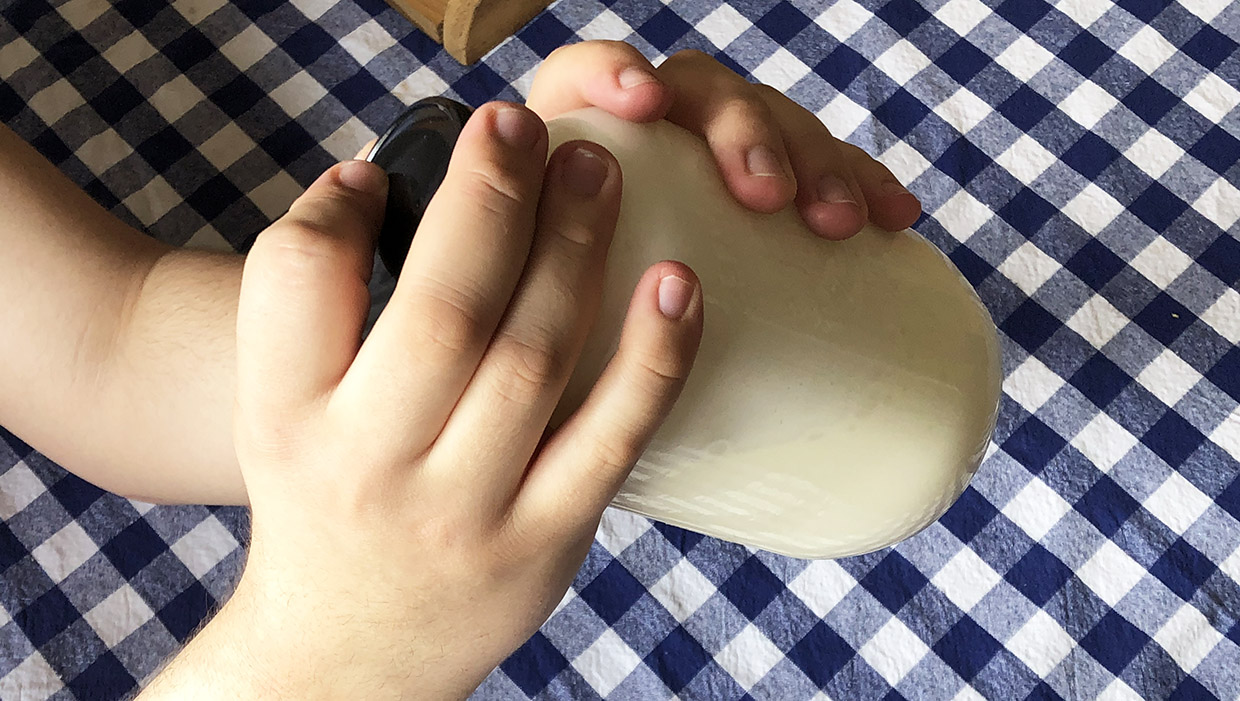
The cream will first start to thicken, and then begin to separate. Keep going — you’re almost there!
Step 3: You’ve got butter!
When the liquid and fat have separated, will hear a sloshing sound in the jar. The liquid is buttermilk. The fat is your butter!
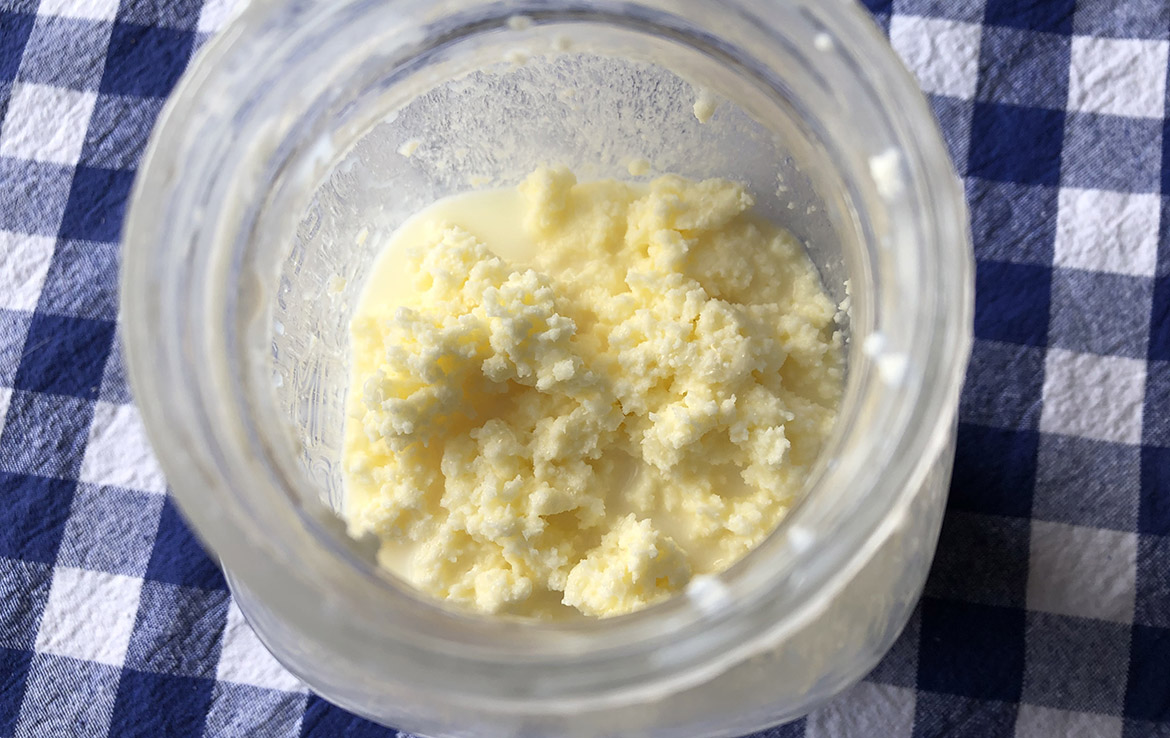
Step 4: Mold and wash the butter
Remove the butter and buttermilk from the mason jar and place into a bowl. With a wooden spoon shape and mold your butter into a ball, gently squeezing out any liquid.
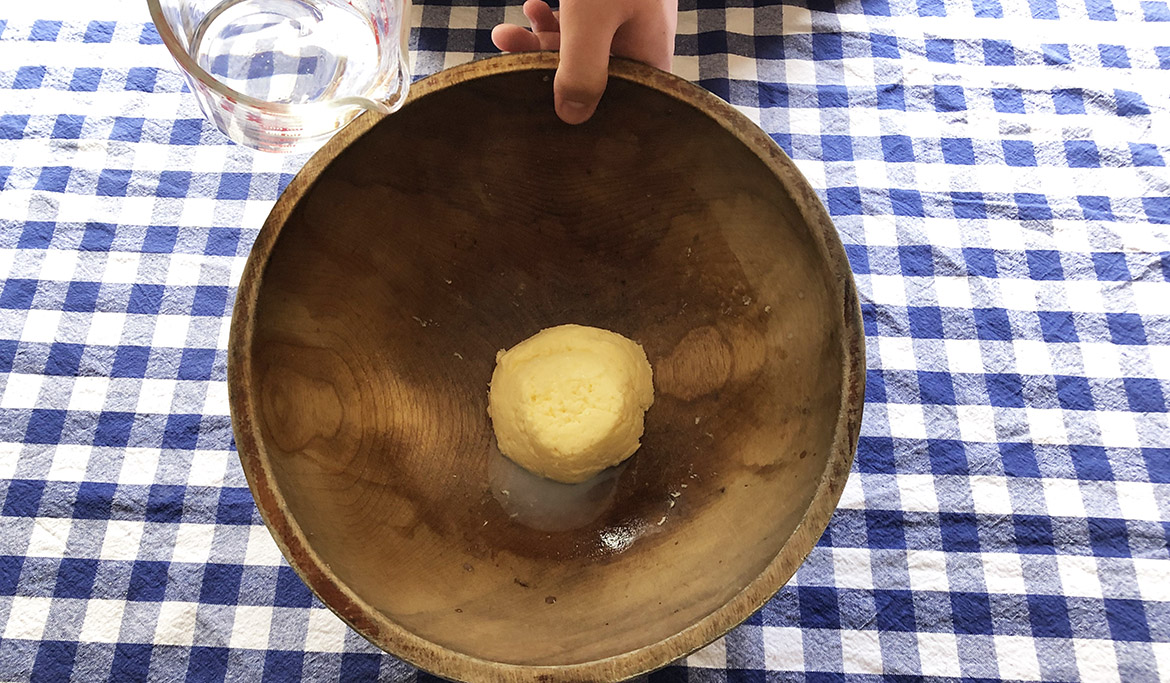
Carefully pour the buttermilk into a separate bowl or container. Do not throw this away! You can use it for baking or making pancakes.
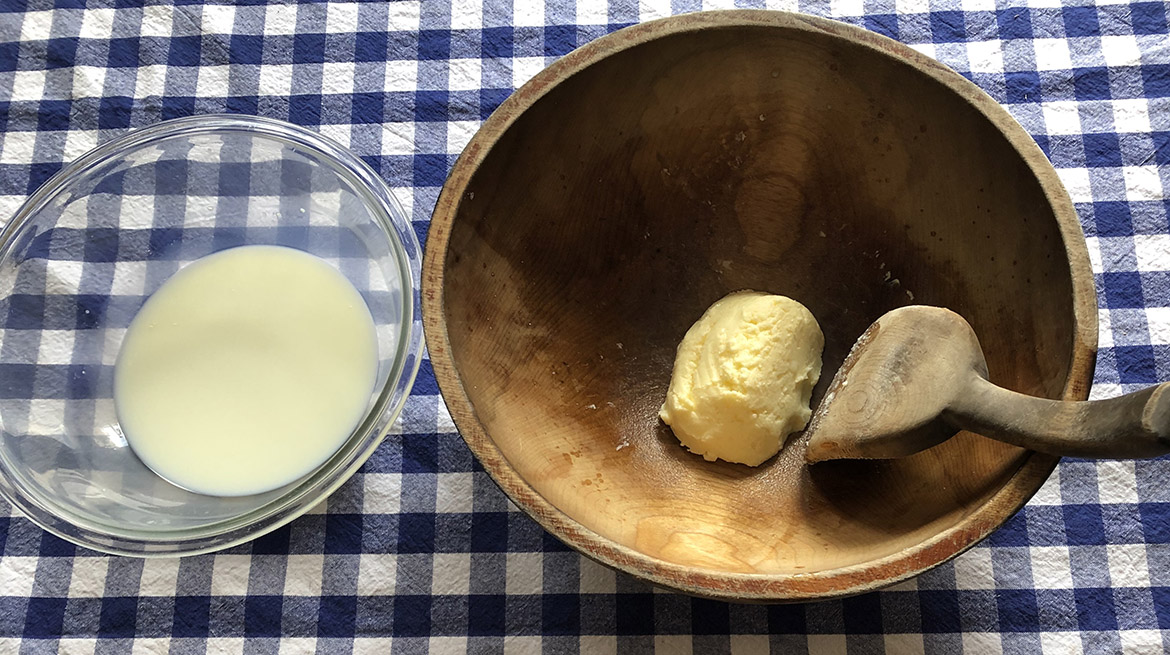
Rinse the butter several times with cold water. Repeat until the water runs clear.
Step 5: Salt the butter
To keep your butter fresh longer, mix in approximately 1 tsp of salt.
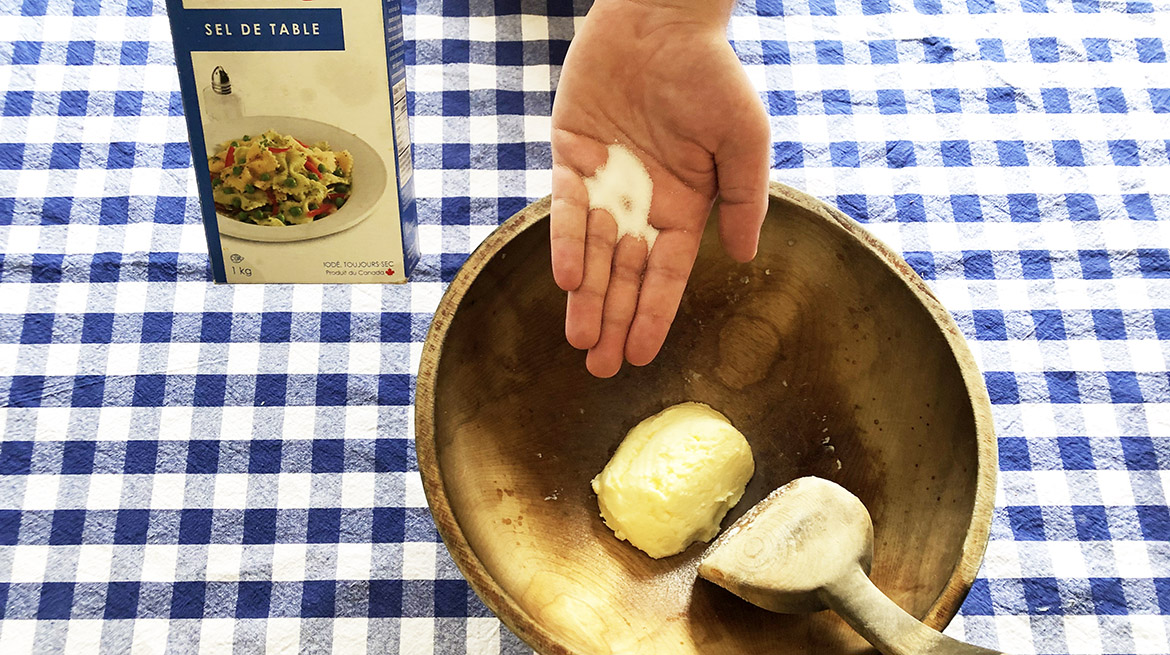
DID YOU KNOW? Before the refrigerator was invented, salting food helped to preserve it longer!
Step 6: Enjoy!
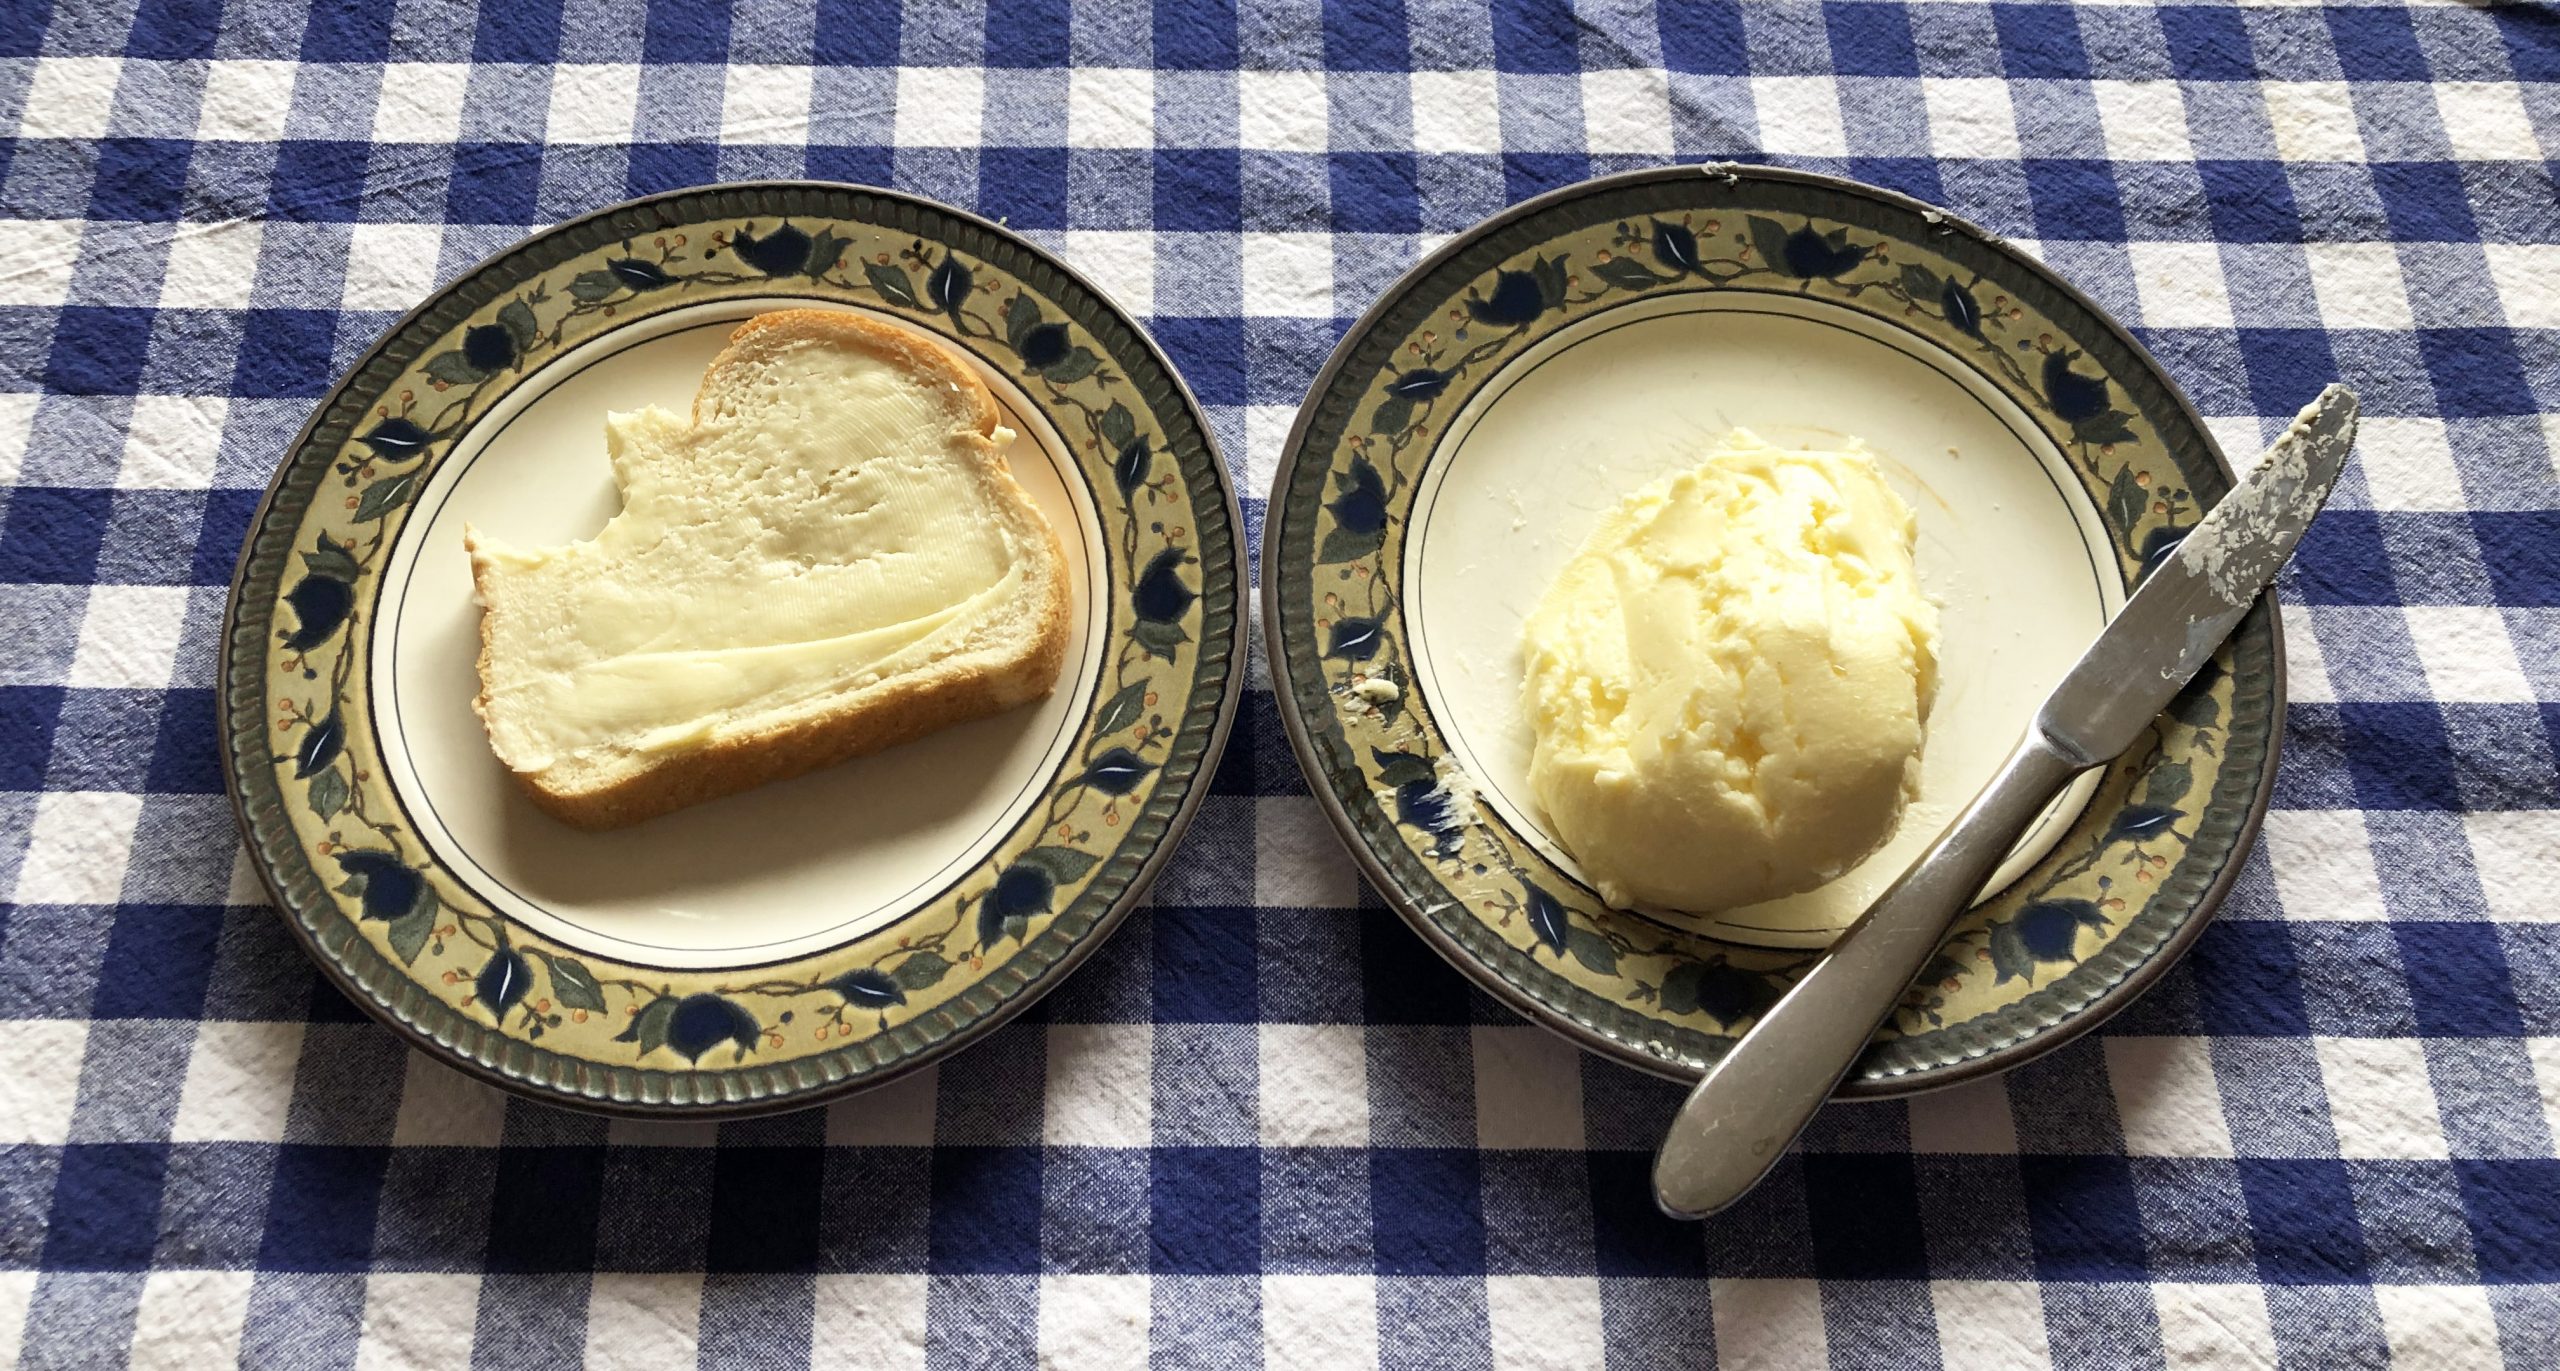
Enjoy your homemade butter on a piece of bread, or use in a recipe for cookies or cake. Store your butter in a container in the refrigerator.
 |
For More Victorian Culinary Adventures:

